Configure a feature
Updated by Maxime_48 · 1 week ago · 78 views
After activating a feature, you usually need to configure it before it can work correctly.
Each YAWBDB feature has its own settings. Some are simple forms, while others have dedicated pages or visual editors.
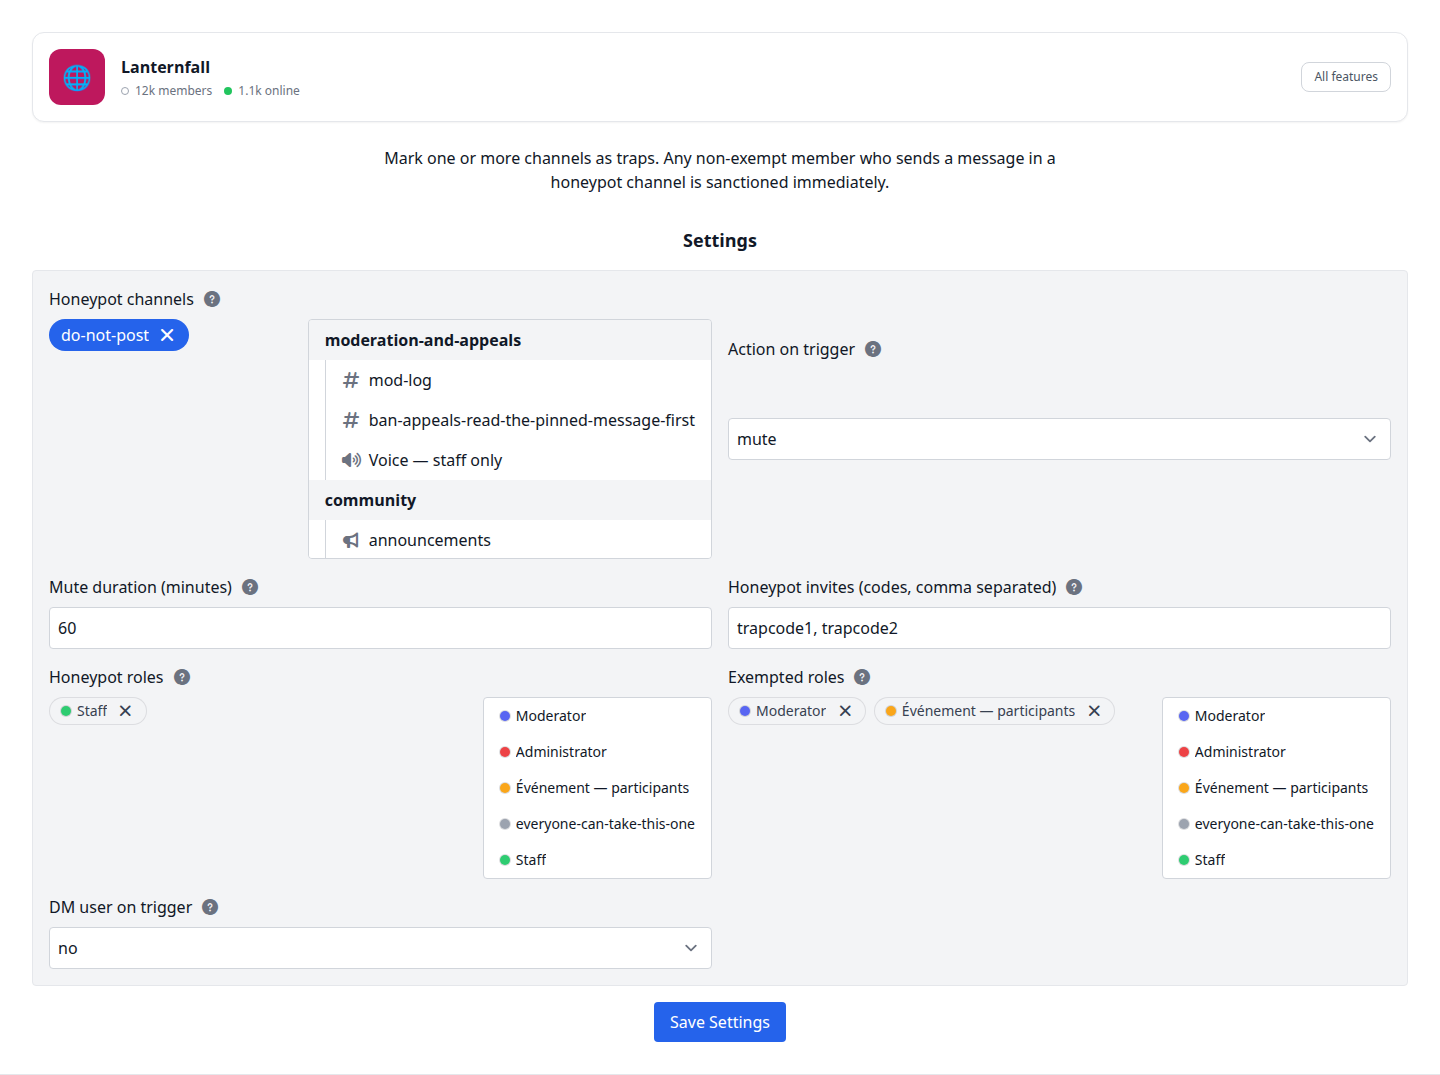
⚙️ Open a feature configuration
From the dashboard:
- Select your server.
- Open Features.
- Find the feature you enabled.
- Open its configuration page.
Some server cards also include shortcuts for major features such as Leveling, Moderation, Reports, Tickets, and Automod.
🎛️ Common setting types
Depending on the feature, you may see settings such as:
#️⃣ Channels
Used for logs, notifications, results, reports, tickets, or level-up messages.
Examples:
- Moderation log channel
- Automod log channel
- Tickets category
- Reports category
- Level-up announcement channel
- Audio recording result channel
🎭 Roles
Used to control who can access or receive something.
Examples:
- Staff roles for tickets
- Staff roles for reports
- Mute role for moderation
- Role to ping on new tickets or reports
- Auto Join Role
- Daily Top Member role
- Level reward roles
🔢 Numbers
Used for limits, rates, durations, cooldowns, and thresholds.
Examples:
- Max reports per user per day
- Max tickets per user per day
- XP cooldown
- Raid detection window
- Spam message threshold
- Minimum account age
🎛️ Toggles and dropdowns
Used to enable modes or choose behavior.
Examples:
- Level-up notification mode
- Automod action type
- Link filter mode
- Mute mode
- Custom AI endpoint enabled or disabled
📄 Dedicated feature pages
Some features are too advanced for a simple settings form.
They use dedicated pages instead:
- Leveling has settings, reward graph, and leaderboard pages.
- Automod has a rule editor.
- Moderation has member search and sanction history.
- Reports and Tickets have list and detail views.
- Wiki has sections, pages, editor, and history.
💾 Save changes
Always save your changes after editing a feature.
If a feature does not appear to update immediately, wait a few seconds and try again. Some bot-side services use cached configuration for performance.
🧪 Test after configuring
After saving a feature, test it with a simple action.
Examples:
- Run
/rankafter enabling Leveling. - Send a test message that should trigger an Automod rule.
- Open a test ticket with
/ticket. - Submit a test report with
/report. - Use a test voice channel before relying on Audio Recording for an important meeting.
🧘 Avoid over-configuring at first
Start with a simple configuration, confirm it works, then add complexity.
For example:
- Start Leveling with basic XP settings before building a large Reward Graph.
- Start Automod with one or two rules before enabling every rule type.
- Start Reports or Tickets with a single staff role before expanding access.
This makes troubleshooting much easier.